How to Install Pavers Over Existing Concrete Patio
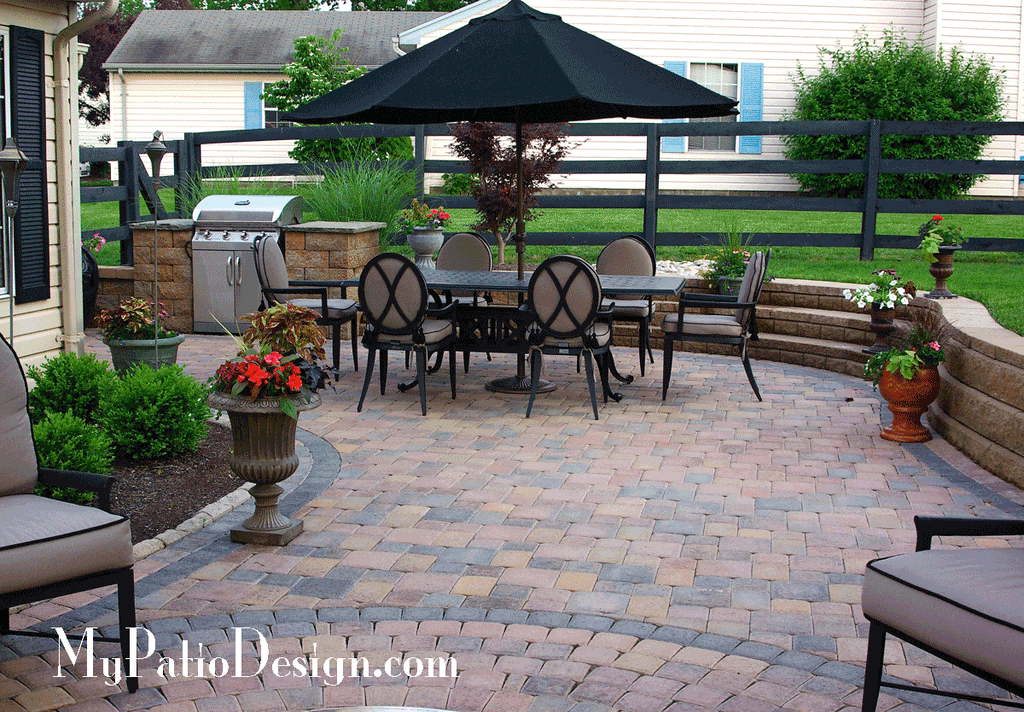
 One of the simplest and easiest ideas to dress-up your existing concrete patio is to lay pavers over the top of it. Sounds too easy...right? It is really that easy, but there are a few items to consider before you get started. Click here if you want to learn how to install a larger paver patio over top of smaller existing concrete patio.
 First, your existing concrete patio has to be in good shape, i.e., no large cracks, a smooth surface with no signs of scaling or spalling. Secondly, make sure your existing patio slopes away from you home, meaning that when it rains, water runs away from your home. And lastly, the top of your existing concrete patio must be at least the thickness of your paver below your door's threshold.
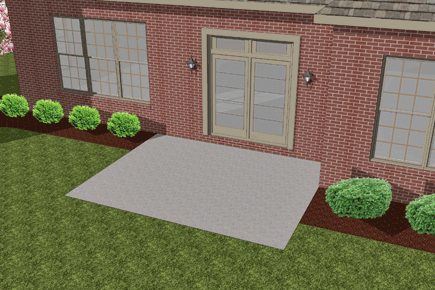 Step 1.
Clean your existing concrete patio from all dirt and debris. It may be necessary to grind any bumps or ridges flat with surface.
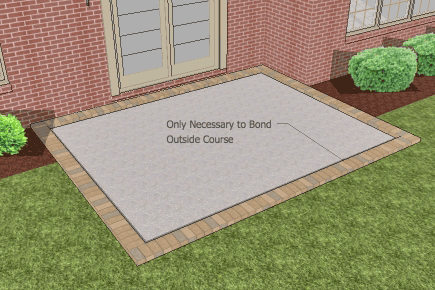 Step 2.
Your paver patio will be more aesthetically pleasing if you install a border course. The border course will be the only pavers necessary to bond to the existing concrete. Use a quality professional masonry adhesive for this application.
Start laying the border course along your home, butting the pavers against the building and bonding them generously to your existing concrete patio. Continue laying and bonding the border course of pavers along the perimeter of your patio.
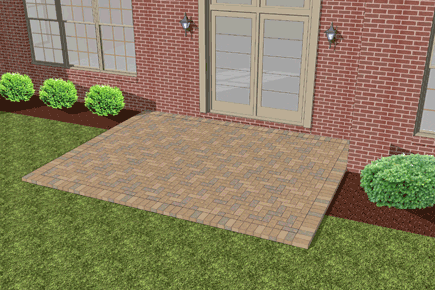 Step 3.
After the adhesive bonding the border course completely dries, you can begin laying the field pavers. Start the pattern in one corner and work your way across to the opposite corner. More than likely, you will need to cut pavers along the opposite sides.
Once all your pavers are laid, you are ready spread sand into the paver joints. Note: The pavers will probably be wobbly prior to installing the joint sand. Sweep the sand across the pavers allowing it to fall into the paver joints.
We recommend using a professional grade polymeric sand for your joints. This will help bond the pavers laterally and keep weeds from germinating between the joints. Be sure to follow the manufacturer's instructions for the polymeric sand installation.
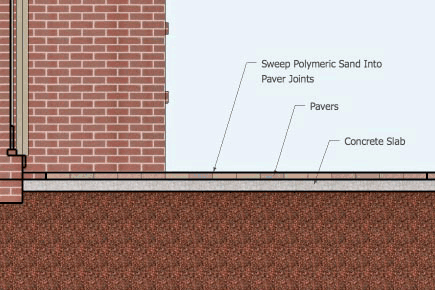
Step 4.
Enjoy your new patio!
- Tags: How-To's
- Steve Combs

 Step 1.
 Step 2.
 Step 3.





Comments 0